
Did you like this post?
In this tutorial I will be showing you how to use the liquify
tool in Photoshop to manipulate simple brush strokes and create a
intensifying light image. The tutorial will cover simple aspects in the
line of lighting and brushing and should be easy to follow. This
tutorial is for advanced users and some things might just be mentioned
briefly when being done. Let’s get started.
Time: 1 Hour
Software Required: Photoshop
Now open up the Concrete_Texture that you downloaded above and insert it into your canvas. You might need to transform it a bit to make it fit properly.
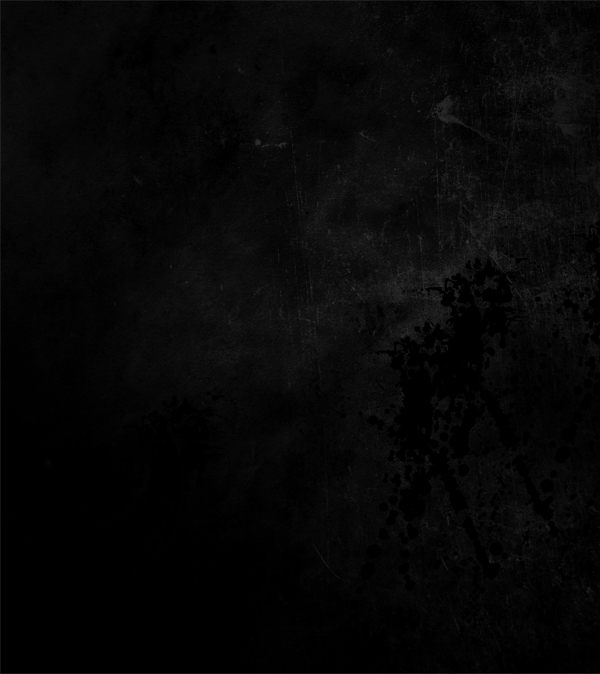
Create a layer mask for your concrete texture by going to Layer>Layer Mask>Reveal All. You will notice that there is a white box that appears next to the concrete layer on the layer panel. Grab a moderate sized soft brush with black and brush over some of the areas on the texture to darken them. I also added in a splatter brush as well. I then went to Layer>New Adjustment Layer>Gradient Map and added the default Black to White gradient. I then created a clipping mask of the Gradient Map on the Texture by right-clicking the gradient map layer and selecting Create Clipping Mask. This is what I have so far.
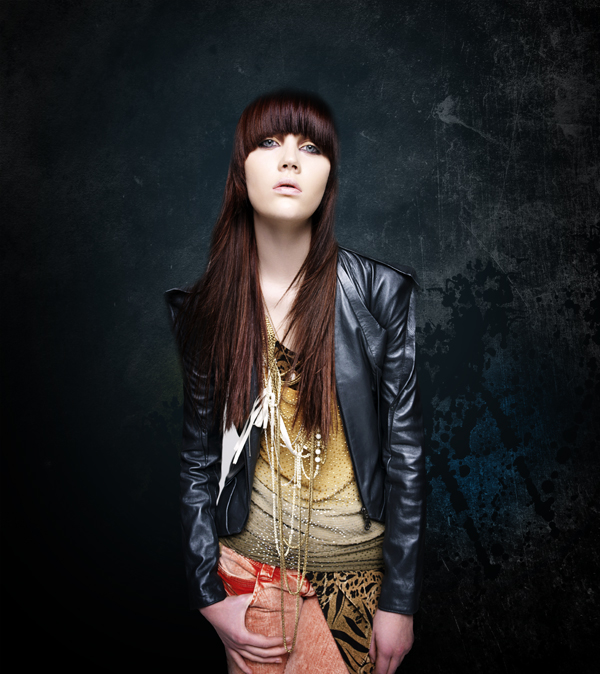
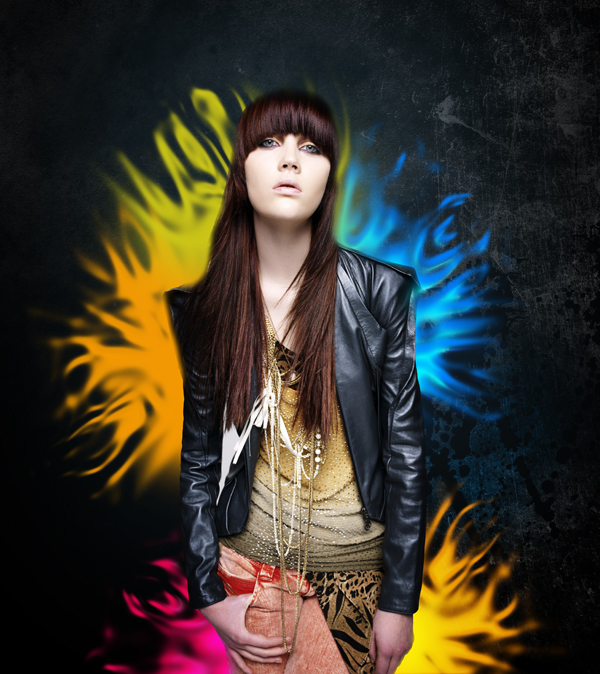
Create another new layer and set the Blending Mode to Overlay and the Opacity to 55% now brush behind the models head with a soft white brush. Now create another new layer and set the Blending Mode to Soft Light and use a soft yellow and blue brush to brush behind the model on the right and left side. You can use any colors you want in these steps.
This is what I have so far.
This is what I have below.

I now created a new layer and then went to Select>Modify>Contract and I set it to 10px and hit OK. Then I filled the newly contracted/selected shape with White #FFF in the new layer and then set it to Overlay and 44% opacity. Lastly I created another new layer and set the blending mode to Overlay and used a smaller white brush to brush on the liquified shape to act as a stronger light source. This is what I have.
Without brush source:

With brush source:
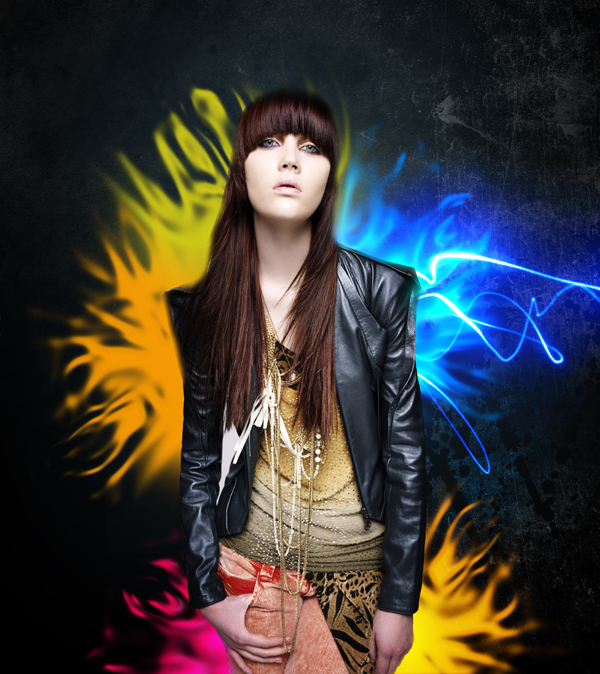
I now continued and used IMG_0924 and added it into the canvas. I set the Blending Mode to Linear Dodge and then went to Image>Adjustments>Hue/Saturation. I adjusted the Hue levels till I was happy with the blending Yellow. I then used my Dodge Brush to light up a bit of the yellow and blue streaks as they come out from behind the model.

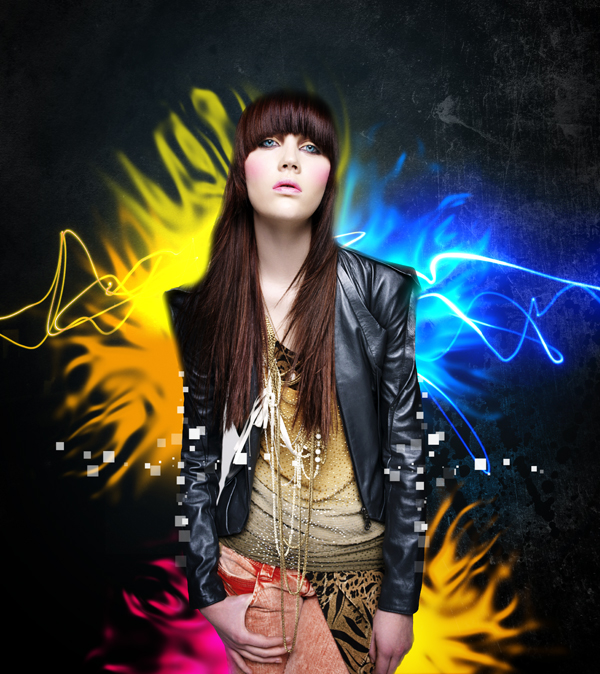
I then continued to create another new layer that’s Blending Mode was set to Soft Light / Opacity 41% and used a soft blue #03adec and brushed inside her eyes. I then deleted the blue color over the black pupils in her eyes. I then created another new layer and set it to Overlay / Opacity 58% and used a soft white brush to highlight her blue eyes so they really stick out. This is what I have below.

Now I set the Blending mode of the two layers to Overlay and Duplicated both of them twice. See Below.

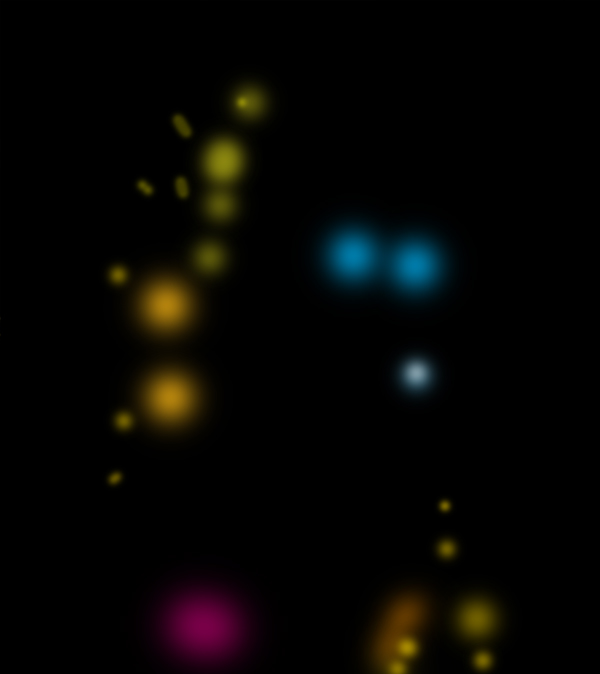


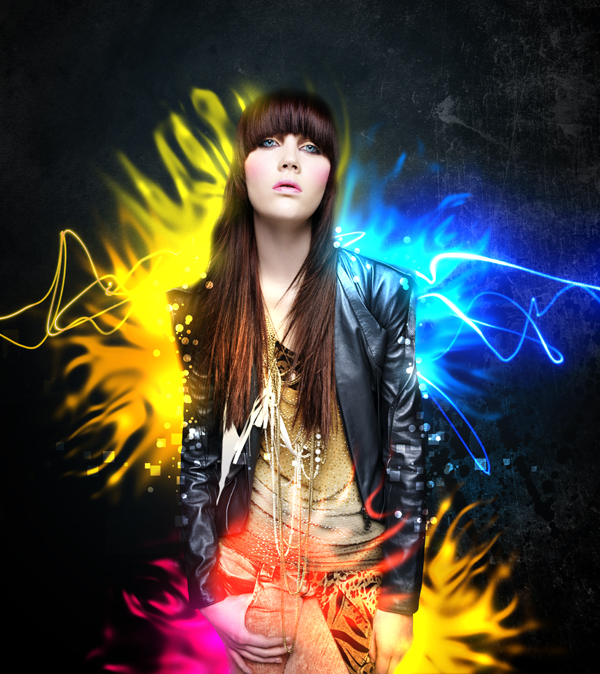
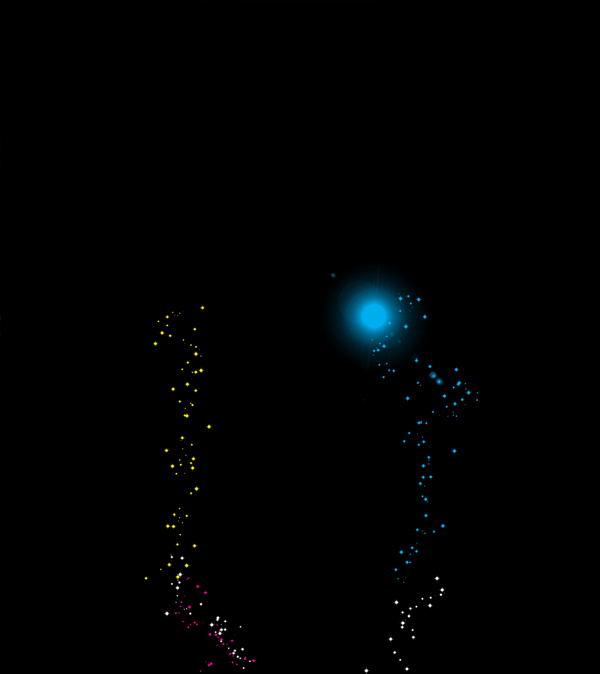
Now create another new layer and fill it with black. Make use of the Circle brush you downloaded earlier, just drop the size quite a bit. You can use whichever colors you want, but I stuck to the colors of the piece. I set the Blending mode of the layer to Linear Dodge. This was the last step to finish it off.

About
Artist: An1ken.comTime: 1 Hour
Software Required: Photoshop
Resources Used
- Stock: Female Stock 117
- Textures: 47 High Res Light Streaks by Barton Damer (Alternate Link) | Concrete Texture
- Brushes: Square-circle Brush
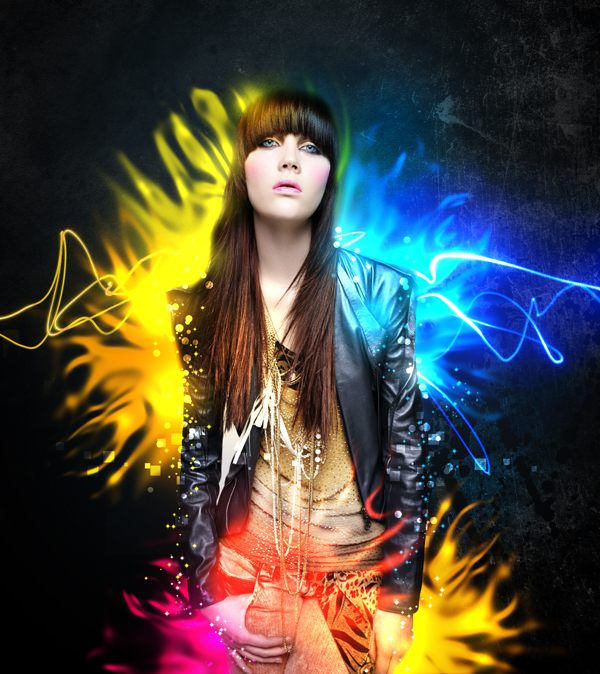
Final Preview

Step 1
Open up Photoshop and create a 3500x4000px canvas and fill the background layer with Black #000000.Now open up the Concrete_Texture that you downloaded above and insert it into your canvas. You might need to transform it a bit to make it fit properly.
Create a layer mask for your concrete texture by going to Layer>Layer Mask>Reveal All. You will notice that there is a white box that appears next to the concrete layer on the layer panel. Grab a moderate sized soft brush with black and brush over some of the areas on the texture to darken them. I also added in a splatter brush as well. I then went to Layer>New Adjustment Layer>Gradient Map and added the default Black to White gradient. I then created a clipping mask of the Gradient Map on the Texture by right-clicking the gradient map layer and selecting Create Clipping Mask. This is what I have so far.

Step 2
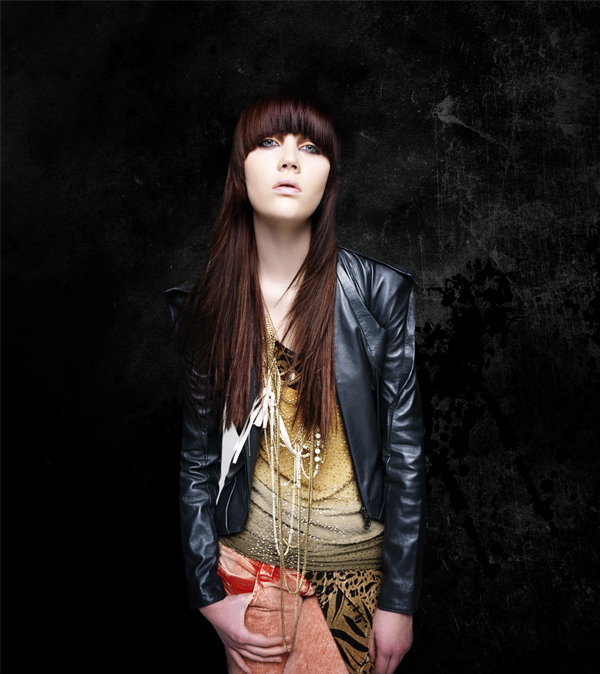
In this step I took my stock model and extracted the background from behind the stock model and placed her into the canvas. You should be able to extract things from background by now, but if you are unaware of how to do this follow Media Militia’s – In Depth Look into Background Extraction Techniques. You won’t go wrong with those techniques. After extracting the model from her background and placing her into my canvas. I created a layer below the model layer and set the blending mode to Overlay and the Opacity to 36%. I then used a soft white brush and lighted up the background in different places behind her a bit. This is what I have so far.
Step 3
Now create a new layer just above the brushed layer and make use of your soft brush again. Set the Opacity of the new layer to 44% and use a faded blue #2b4554 and brush behind the model.Create another new layer and set the Blending Mode to Overlay and the Opacity to 55% now brush behind the models head with a soft white brush. Now create another new layer and set the Blending Mode to Soft Light and use a soft yellow and blue brush to brush behind the model on the right and left side. You can use any colors you want in these steps.
This is what I have so far.

Step 4
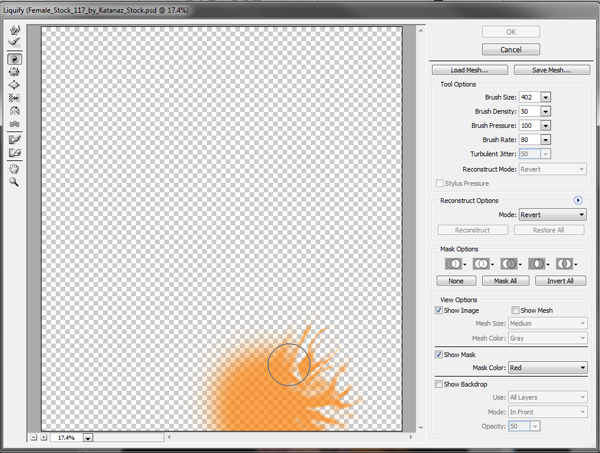
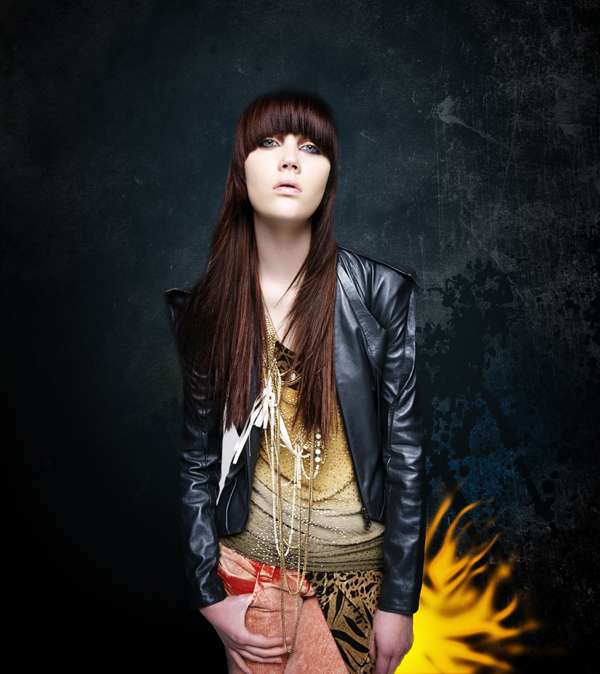
Here comes the fun part. Create a new layer and select a medium sized brush. I used a dark orange #b25a02 for my first liquefied brush layer, I brushed at the bottom right just behind the model and then with the brushed layer still selected went to Filter>Liquify (Shortcut: SHIFT+CTRL+X) then within the Liquify menu I pressed (C) or clicked the Swirl Tab on the left hand side. I then proceeded to brush and swirl my brush within the liquify menu until I was happy with the result. I kept changing my brush size on the right hand side a bit too.This is what I have below.


Step 5
Now I duplicated the liquified brush layer by right-clicking on the layer and selecting Duplicate or pressing Ctrl+J. I then set the duplicated layer’s Blending Mode to Screen. Now I held down Ctrl and clicked on the little window in the layers palette next to the liquified brush duplicate. This selects the liquified brush shape.I now created a new layer and then went to Select>Modify>Contract and I set it to 10px and hit OK. Then I filled the newly contracted/selected shape with White #FFF in the new layer and then set it to Overlay and 44% opacity. Lastly I created another new layer and set the blending mode to Overlay and used a smaller white brush to brush on the liquified shape to act as a stronger light source. This is what I have.
Without brush source:

With brush source:

Step 6
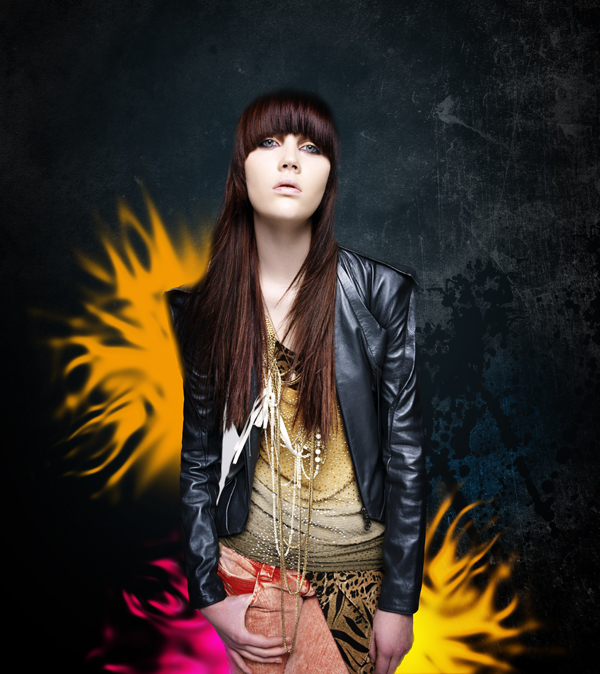
In this step I continued to repeat Step 5 four times each time adding in a different color. Firstly I added a nice bright pink #f806a8 and then I added a nice bright blue #0b70d0. I then continued to add another Orange #f19803 and Green #c2bd18 liquifed shapes too. I repeated the above four times exactly and played around with the liquify each time. Your shape will never come out exactly the same with the liquify tool, this makes it unique in a few ways. This is what I have below.


Step 7
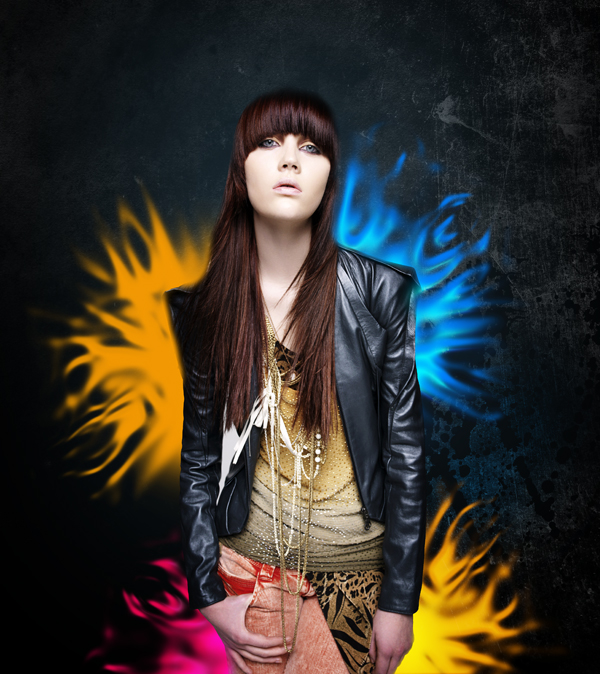
Now I downloaded 47 High Res Light Streaks by Barton Damer and used IMG_0928 and placed it into the canvas behind the model. I then set the Blending Mode to Linear Dodge and positioned the layer to where I was happy with it.
I now continued and used IMG_0924 and added it into the canvas. I set the Blending Mode to Linear Dodge and then went to Image>Adjustments>Hue/Saturation. I adjusted the Hue levels till I was happy with the blending Yellow. I then used my Dodge Brush to light up a bit of the yellow and blue streaks as they come out from behind the model.

Step 8
Now it’s time to starting working on some lighting and effects on top of the model. Let’s start out with her face. I created a new layer above the model layer and set the Blending Mode to Soft Light, I then used a small soft pink #ff00f0 brush to highlight her cheeks. I then created another new layer and did the exact same thing to her lips. I just used a stronger Pink and dropped the Opacity to 63%I then continued to create another new layer that’s Blending Mode was set to Soft Light / Opacity 41% and used a soft blue #03adec and brushed inside her eyes. I then deleted the blue color over the black pupils in her eyes. I then created another new layer and set it to Overlay / Opacity 58% and used a soft white brush to highlight her blue eyes so they really stick out. This is what I have below.

Step 9
In this step I used a square brush that I created and brushed vertically and horizontally on both forearms to create a nice block effect. See below
Now I set the Blending mode of the two layers to Overlay and Duplicated both of them twice. See Below.

Step 10
Create a new layer and fill it with Black #000000 and set the Blending Mode to Linear Dodge. Now I grabbed a soft brush and alternated colors according to the colors on my canvas and highlighted spots on my model and shapes. See the Canvas below without the Blending Mode activated.

Step 11
In this step I repeated the step 5 brush Liquify effect. I used a red #f41c07 color and used it on top of the model I played around with this effect to get to my desired shape and until I was happy with it. I then proceeded to create a new layer and fill it with black and repeat Step 10 with some colors and dots. I just used a bigger soft brush in this step than in the previous, I also set my Layer to Color Dodge instead of Linear Dodge.

Step 12
Time to add some more brushing to the canvas. Make use of the Circle Brush that you downloaded and create a new layer and use White to brush onto the canvas and on the arms of the model. I then set the Blending Mode to Overlay and duplicated it once (Ctrl+J). This is what we have below.
Step 13
Create a new layer and set the Blending Mode to Overlay. Now using a Soft Blue Brush, brush over the blue lighting streak on the right and the top of her head. It will make the model blend into the canvas better and the lighting pops.Now create another new layer and fill it with black. Make use of the Circle brush you downloaded earlier, just drop the size quite a bit. You can use whichever colors you want, but I stuck to the colors of the piece. I set the Blending mode of the layer to Linear Dodge. This was the last step to finish it off.


Tidak ada komentar:
Posting Komentar